In the wake of the launch of the new Zoom F3 in the market lately (which is definitely answering my needs), I want to present the temporary solution I used up until now for ultra-light professional field recording setup.
It is an experimental custom kit I have set up in 2019 and followed me in my adventures around the world since then, over the last 15 countries I visited.
I have been asked many questions about it, and I thought it would be great to put up an article to present and describe it.
So here it is, today I am finally showing this setup, explaining what it is, why I chose this and how I use it.
Before we start, I need to warn you that: it is by no means an example to follow, And it is absolutely not a hidden advert to make you buy the same equipment (I’m not sponsored by any kind). In fact, I would generally not recommend this setup, particularly if you are starting in field recording and I will explain why with the pros and cons later in this article.
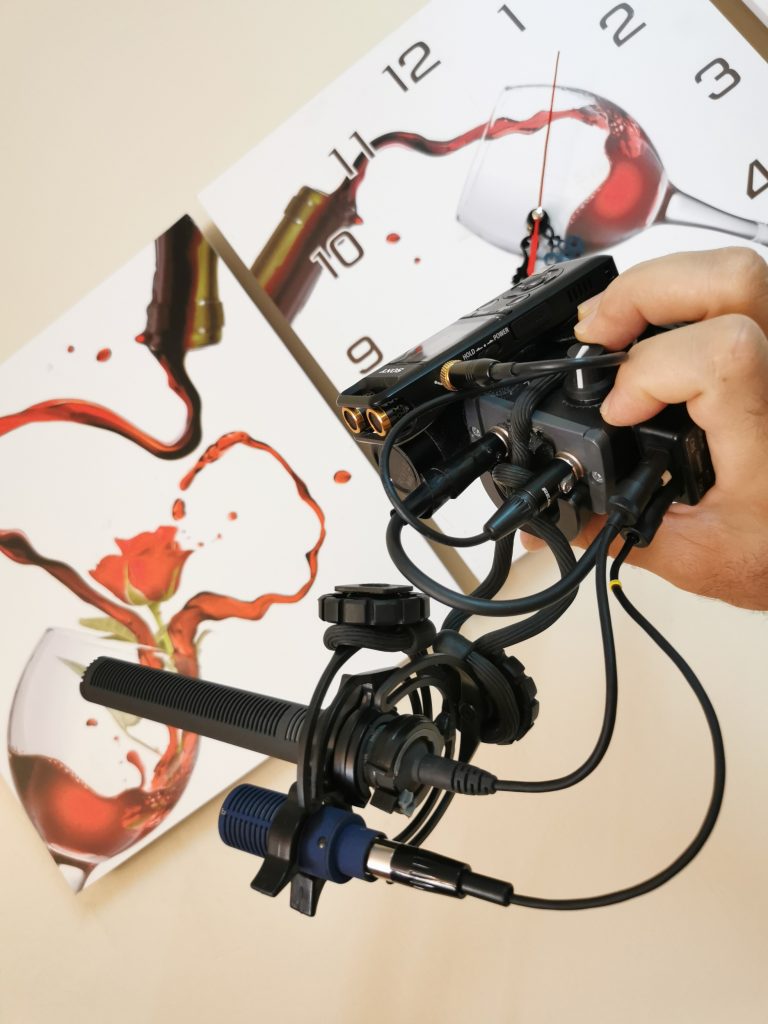
First, let’s have a quick overview of what is this kit. It comprises:
- 1 small recorder, here the Sony A10,
- 1 small dual microphone preamp with phantom power
- 1 small USB battery to power the preamp
- 1 Rycote Connbox MZL with a custom mini-xlr 5pin out
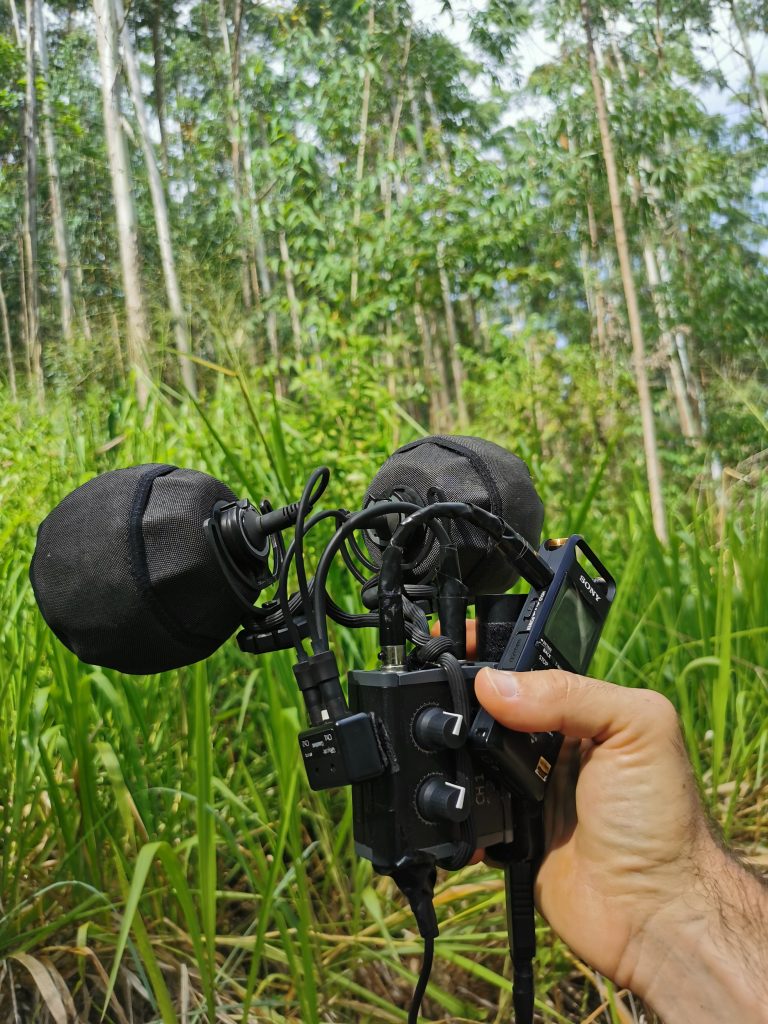
- 2 Microphones Sennheiser MKH8090 (ortf setup), interchangeable with other Sennheiser MKH8000 series.
- 1 Ambient Emesser ATE 308 along with Mkh 8060 (ms setup)
- 1 small cable mini-xlr to mini-jack
- 2 suspension Lyre
- 2 windshield balls Cinela Leo
- 1 twist tie to flexibly attach the suspensions on the main block
- a small mount, here a selfie-stick reconverted
- few sticky Velcros to have the versatility to attach or detach the various elements
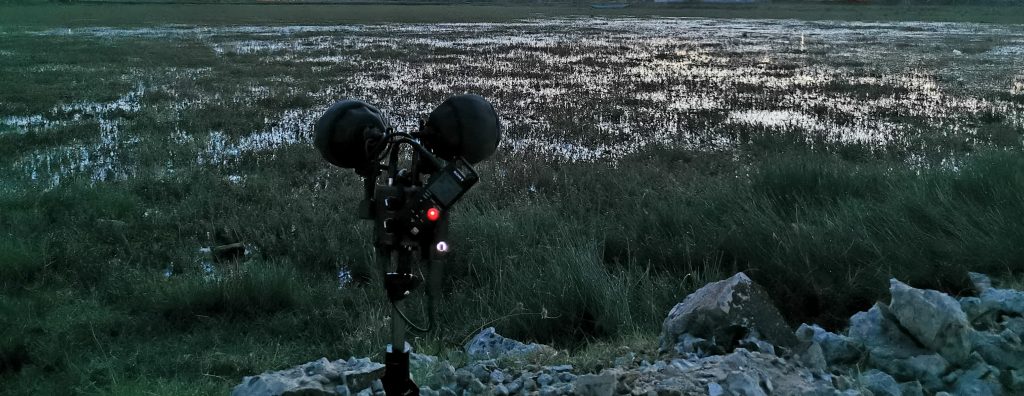
When everything is attached and plugged in, it makes a simple, easy setup, which is lightweight and flexible in the same fashion as a handheld, but with the added benefits of advanced sound quality. It can pack in really small too, there is as less bulk as possible, and even all XLR connectors are mini.

Now let’s go to the origin. I would like to share the context and explain why I built this kit in 2019.
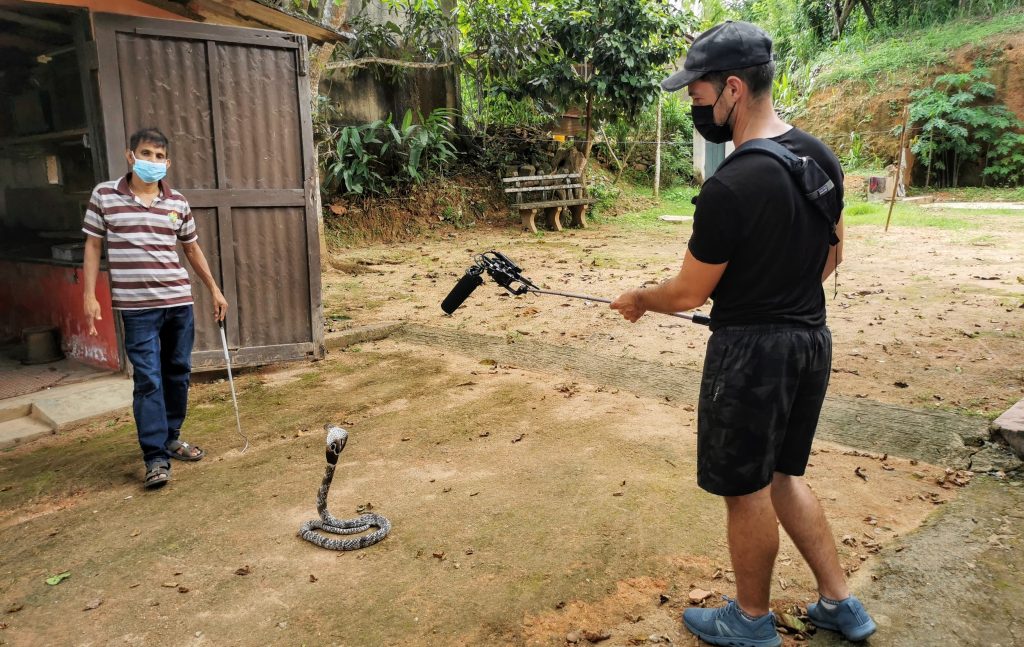
In fact, I envisioned this setup as an outcome after some years of field recording. Throughout my experience, I tried and used a variety of gear, always striving to get the best quality, and perfecting my techniques. Some of the setups I have used in the past were very bulky and heavy. I enjoyed bringing with me these extensive collections of gear in the lush remote jungles of Ecuador, or Guyana. At one point in time, I had a surround rig, along with an Ambisonics microphone, a handheld for on-the-spot captures, but also a shotgun rig topped with a Sanken co-100k, all of that in the same trip, in the same bag. Having all these tools with me was giving me a sense of power. The logic goes like that: having more options at hand would yield better results. There was a time when I was in great belief that the heavier the setup is, the more professional it would be. As much as this seemed logical, this completely proved to be a misconception. Over time, I realized that more tools are not a vector of great recording. In fact, This perception already started 20 years ago, when I was recording bands and artists in my recording studio. At that time, I was putting a lot of effort to try out over 20 expensive microphones, coupled with as many preamps, and as many different positions in space, all of that with the aim of getting the best sound possible. I’m gonna tell you a story that was revealing. One day, one artist was looking for the best quality of his solo guitar song. We spent hours and hours in search of the best configuration, we tried and tried so many techniques and gears. After an entire afternoon, I thought we found a good combination of microphones that was working well. A few days later the same artist came back to me with a cassette tape of the same song we were trying to record a few days earlier. This time he recorded at his home using an old cheap rusty cassette recorder, the technical properties of the recording were ugly, it was saturating, with a big lack of dynamics, and frequencies; but to my surprise, this recording felt better to the ears (and to the heart), hence it kind of sounded ‘better’, way better than anything we were trying to record in the studio with thousands-dollars microphones. In fact, the emotions were passing through even with the flaws of this recording. What happened actually is that the performance of the artist was profoundly different, in fact, I believe he was a lot more comfortable at his home and was doing a much better performance. The lesson I learned from this story is that any gear in the world or recording method is nothing without an initial good sound/performance in the first place. The performance or subject is the MOST important. Likewise in field recording, it is the same scenario. Any recorder or microphone is nothing without a good source to record from!

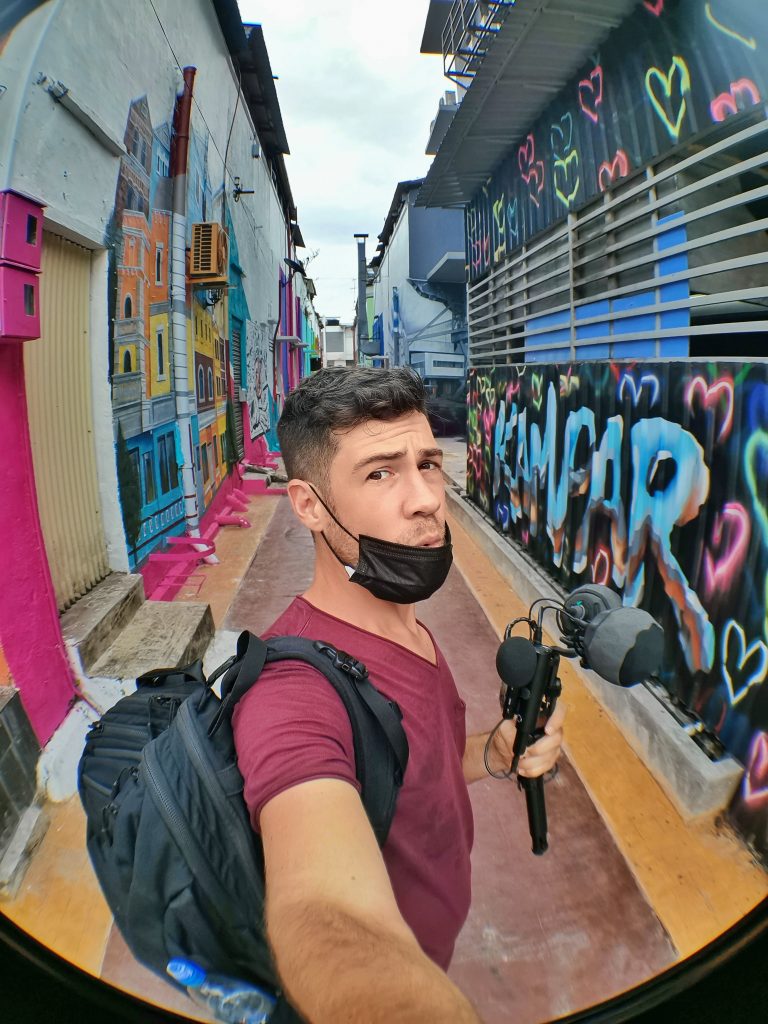
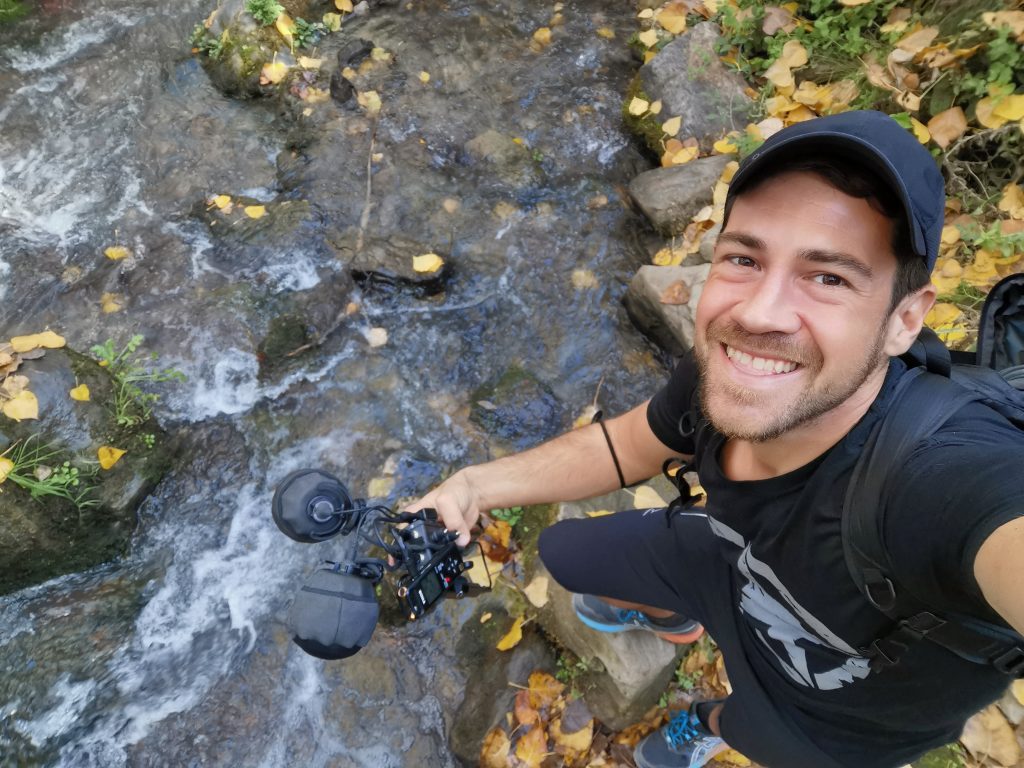
It is now five years that I am traveling full-time, and six years that I am recording sounds all over. After my first year nomad, it became clear that my number 1 concern was the bulk and weight of my backpack. Being more lightweight allows moving more freely, walk further and reach more interesting places for recording more valuable sounds especially as a solo traveler like me, carrying big bags requires an extra-logistic budget that I can’t really afford. This is even more valuable because I am a nomad (full-time traveler), and I carry my home with me. And also because I am independent, I do not have a team with me, at least not full-time.
Thus, the challenge I tried to solve was keeping a very high sound quality and versatility with the lowest bulk possible. My methodology was like that:
I tested various lightweight recorders so I could choose the one I preferred, comparing noise ratio and functionality. Also, I really wanted to keep my Mkh 8090 (ortf setup) as my main microphones as these are in my opinion one of the most robust, best sounding, and lightweight mic configurations. Indeed I wanted to keep the best quality to my ears, and not just follow a technical chart. After trying various handheld (lightweight) recorders (see my post), I was really satisfied with the quality of the Sony A10 when coupled with external mics. Also, the size factor of this recorder was the best in all that was available in the market. So I took a pledge on wondering if this could be my main recorder based mainly on its unrivaled form factor. This seems like an odd choice as I was aiming for highly professional results, but in fact, the real quality difference in the end between this recorder and all other options on the market is so subtle nowadays, (see Tim Nielsen comparison). I decided to give a shot to this little recorder. After this choice, there was an obvious missing part between the recorder and the microphone in order to inter-connect them. Here my approach was similar to the one I had during my studio days, where we equipped our recording studios with external preamps (sometimes very expensive), giving a boost to the microphone signal and, if needed, powering it with phantom power in the meantime. I thus searched for the smallest possible microphone preamplifiers that feature phantom power. I found a few models and brands that fitted my target, I decided to go with the Kortwich M2-mini which has mini-XLR connectors, which would allow me for more miniaturization. I just modified it a little, so I could power it with a USB power bank instead of the previous Hirose connector. For this, I used a 5v USB connector. I then found a way to attach the various component, using sticky Velcros. The microphones are connected using a Rycote Connbox with 2 MZL connectors, I had also to customize this one, I changed the XLR 5pin output, to a mini-XLR 5-pin that fit the preamp input. I then needed a connector cable between the preamp and the recorder, this is a mini-XLR to mini-jack. To attach the microphone, I used gear ties coupled with lyre suspensions, all of which allow for the flexible position of the microphone but also minimize the bump noises from the entire system.
I have later introduced a second possible microphone combo (MS Config) that works with the same kit, the short shotgun Sennheiser MKH8060 along with the Ambient Emesser ATE 308. These are interchangeable with the ORTF configuration. I just have to change one connector on the Connbox so I can plug the Ambient Emesser.
As for wind protection overall, it is not the best configuration to use in high wind, but I had some good results using the Cinela Leo for the ORTF configuration, moreover, the placement of the mics in the environment makes a real difference in reducing wind noises. As for the MS config, the wind has been difficult to manage in this case. I do not have yet a proper wind solution for my short shotgun, but this will be soon addressed as I already ordered a Rycote Nano shield.
My own war is against full-sized XLR connectors as I have always found them unnecessarily bulky for field recording and traveling, that is why I chose to have no full-sized XLR on this kit (only MZL or mini-XLR); However, with my new kit using Zoom F3 I do not have much choice but to use XLR again.
Pros and cons of this setup:
Portability: Obviously portability is the biggest advantage, weight and bulk are reduced to the maximum I could; with as less impact as possible on the sound quality. This was the first main purpose of this setup, and it held its promise.
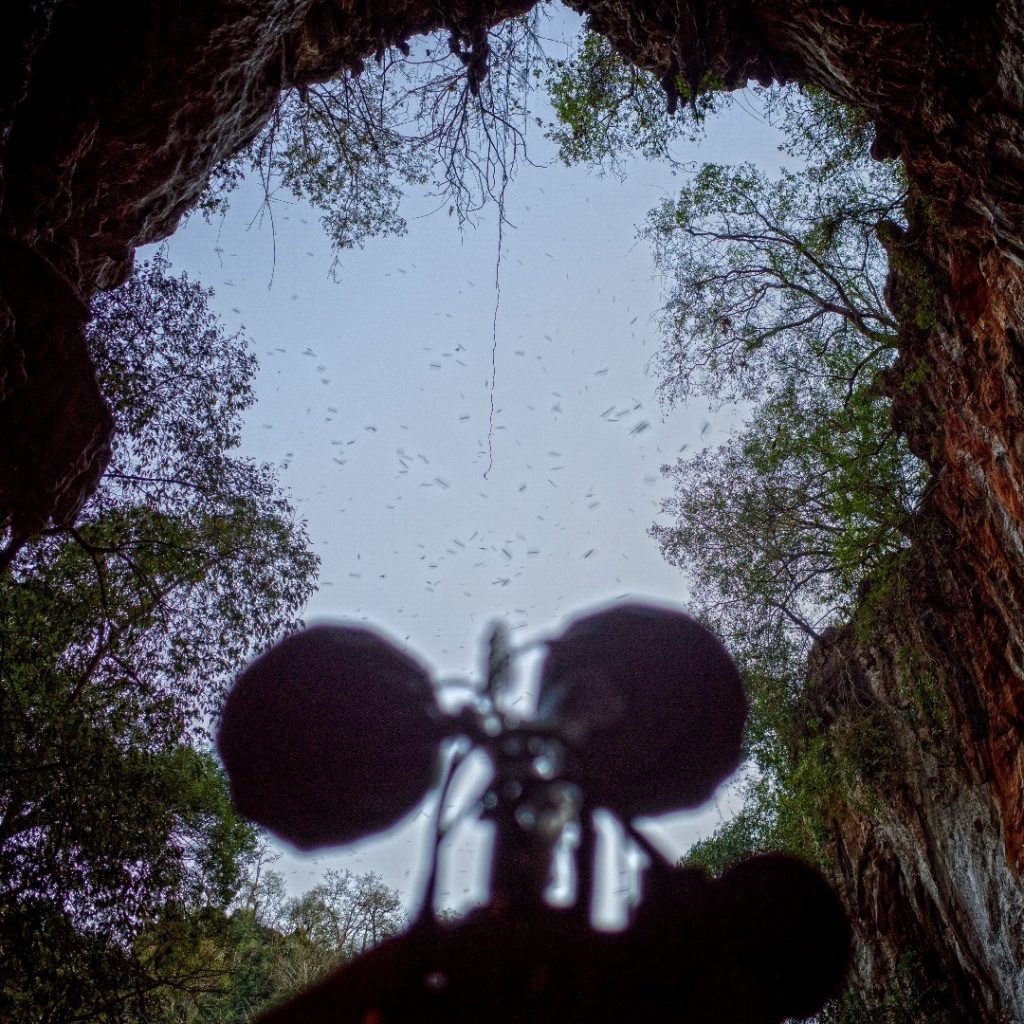
Versatility: This configuration is like a transformer with various pieces that have independent functions, but when they come all together they provide a new entity. In fact, if I am not using the entire kit, I can use the USB power bank separately, for example, to charge my phone. The A10 can also be used on its own, and make a stealth recording on the spot, or be used in a drop rig with small Clippy microphones. The added MS possibilities add another layer of versatility. With this kit, I can record pretty much every kind of sound in most environments (just not too windy), all with ease, providing a clever sound result.
Technical limitations: On the cons side, there are some technical limitations. Obviously using the A10, means having a maximum of 24 bits and 96 kHz as a max resolution. It would be great to have a resolution of up to 32 bits / 192KHz. The other limitation is on the loud sounds, as the system does not have a proper limiter, and again no 32 bits are available, there can be saturation introduced by sudden loud peaks during the recordings.
Fragility: The other con is the fragility of the kit. As it is a DIY system, it is far from perfect and lacks robustness in many ways. Obviously, I know the limit and flaws of the system, and as I am the only user, I can minimize the issues and be careful while manipulating this kit.
In conclusion, I have lived through this kit for almost 3 years and was happy about the main advantage: the easy portability. Many aspects were not on par with it but all in all, it was an interesting experiment and a good substitute in the wait for a proper 2-channel recording solution, which arrived when Zoom released the F3. I already migrated my kit to this recorder which gives me more robust technical specs with a similar form factor.
Great article, thank you for sharing your setup information and your overall journey. So how has your setup evolved with switching to Zoom F3? I guess you don’t really need quite of your equipment anymore since F3 has XLR and phantom power. Do you still use any preamps? I’d love to learn more as I am building a portable setup based on F3 as well. I am a photographer interested in expanding into field audio recordings for a project and looking for a good quality, but highly portable equipment.
Yes F3 has all included, it just might need an external battery power bank if you need to record for an extended period of time.
I think it is very good quality and a good price point even for starter.
Superb article. I really hope you show us you new system that features the Zoom F3 you mentioned. That would be very interesting to me. Thank you very much for sharing all the knowledge that you have with us.